
Feb 24, 2022
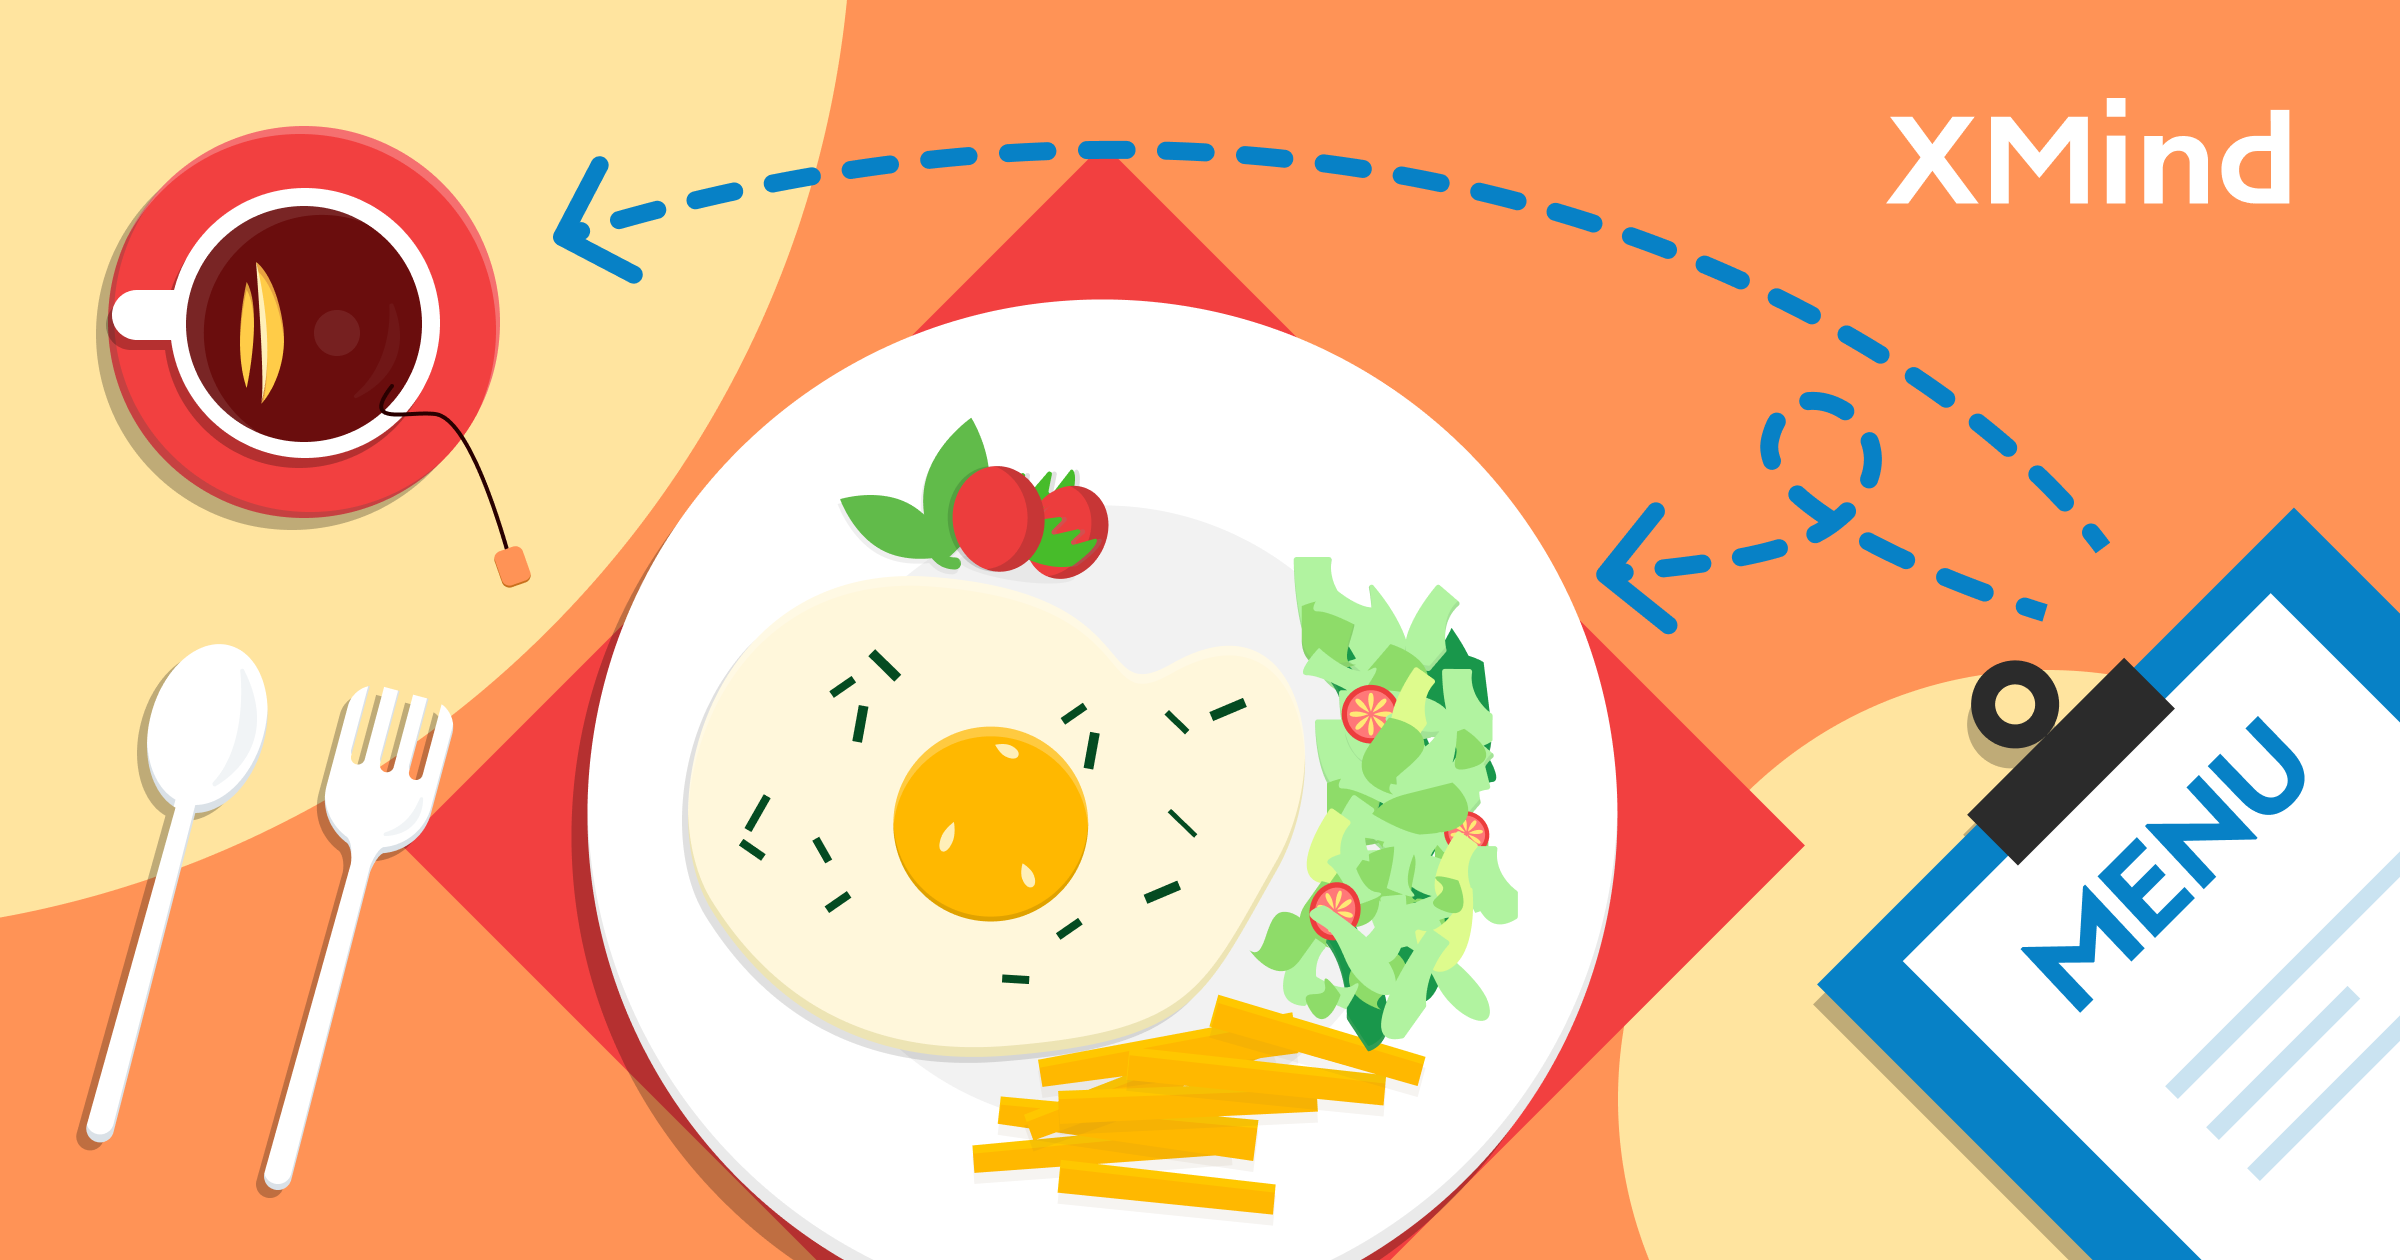
How to Make a Simple Menu in XMind (with Tips & Templates)
Feb 24, 2022
How to Make a Simple Menu in XMind (with Tips & Templates)
We’ve been sharing how to make recipes, and diet planner in XMind. It's time for a menu.
No matter eateries, cafés, or a restaurant, a clear and well-designed menu is crucial for business. If you are hosting a dinner party at home, a menu will be a delight too.
Designing a menu sounds intimidating, but in XMind, brainstorm, categorize, and design a menu in one place is possible. We create a step-to-step tutorial guide that breaks down the process and includes hidden tricks for creating a lovely menu from the ground.
Brainstorm Your Menu Options
No matter it’s a menu for a family reunion, or a restaurant, the question below is crucial for coming up with the first draft of your menu.
What kind of cuisine/drinks you would like to offer?
For a restaurant menu, please also consider your target customers and the concept of your restaurant.
The classic mind map structure is built for brainstorming, while you can use shortcuts: Tab and Enter to jot down the ideas efficiently.
Let’s create a menu for a fast food bistro together. Here is a draft menu options for a fast food bistro after brainstorming.

Decide Menu Items
After brainstorming, here comes our second question.
How many items should be on your menu?.
Pick 10-12 menu items you prefer and know you can do best as shortlisted items so that your guests can see them all at once. This forms the basis of your menu. Since we are making a fast food menu, let’s pick up some of the classics, which is easy-to-make and delicious.
Besides deleting a topic directly, we recommend you to use strikethrough in case you need to bring the dish back later.

We know you may still have new ideas here, keep adding and removing items going. If you have made up your mind, simply delete the topics, we still keep the strikethrough here.

Categorize Menu Items
Categorize the menu items, and make it look organized with Drag & Drop. Add a parent topic to summarize the topics with shortcuts Command/Ctrl and Enter.

Choose the items that represent the cuisine, and mark them as Best Seller or Chef’s Choice. Select the topic, and pick a Marker in the format panel directly.

This is the menu V1, pretty organized now.

Add Name & Description
A hamburger and French fries don’t sound like much, but “Burger From Hell” and “Freedom Fries” sound luscious. Marketing research has shown that customers tend to gravitate toward creative names. Stop calling your hamburger simply “hamburger,” give them a descriptive and brief name with specialty.
A brief description that includes the ingredient for the food is inviting and helps your customers know a bit more before ordering. Add the ingredients in the subtopics one at a time so that you could summarize them as an appealing description.

Use label to note if any of the following apply:
- The dish is hotter/spicier than most of the other dishes on the menu.
- The dish contains any ingredients to which some people are severely allergic (e.g., peanuts).
- The dish caters to a group with special dietary needs (vegan, vegetarian, gluten-free, etc.)

Change the Structure in a Snap
Menu is about structures. As we can see menus of different restaurants, some put title on top, or on left, even in the bottom.
XMind is capable for this with a complete serious of structures! You can try different structures in XMind in just a few clicks before the next move.

My personal favorite is Tree Table which provides a great reading experience. It was a coincidence at first, I was helping my friend to record the liquor in house. I was surprised by the variety of liquor, and joked of having a private bar. Later, I turned the liquor sheet into a menu. Feel free to click and download it.

(Another remarkable thing is that, it looks like a cabinet!)
Challenger who wants to explore a bit on the layout, Advanced Layout in format panel is your bet.

Enable Branch Free-positioning, Flexible Floating Topic, Topic Overlap, you can drag and drop the menu on the sheet freely. Hmmm, you are pretty much like a mind mapping designer.
Decorate Menu with Color and Icon/Image
Color conveys the concept and feeling of the restaurant faster. As illustrated by the liquor menu above, black conveys the sense of boldness. Fast food tycoon use vibrant colors which brings guests the feeling of warmth, happiness, and inviting. Have a close look at the chef’s choice on your menu, perhaps its palettes can be used on the menu. Another suggestion is to make the menus match the design of your restaurant, providing guests an immersive dinning experience. Here, I choose yellow as the main color.

Use icon or take photos for the food to make your menu appetizing. Drag and drop the icon/image into the topic directly, adjust the image position at anytime.

XMind also offers various options for image layout: size, border, shadow, and opacity. Don’t forget to credit the photographer or icon designer.

Tips & Tricks
If you want to have 2 different font style in the same topic, here’s a sneaky trick: tick flexible floating topic, and topic overlap of Advanced Layout in format panel(we mentioned above). And, there you go 👇

Others
For business, you may need to calculate gross margins, markup percentages, and decide the price for each menu item for your profit. You can do it in a spreadsheet, and add the final price on the menu later.
Finally, don’t forget to proofread before printing your menu. A typo or spacing issue is discouraging for your guests.
This is the final menu mind map, you can click it and download as a template. We cannot wait to see your XMind menu.

More Posts
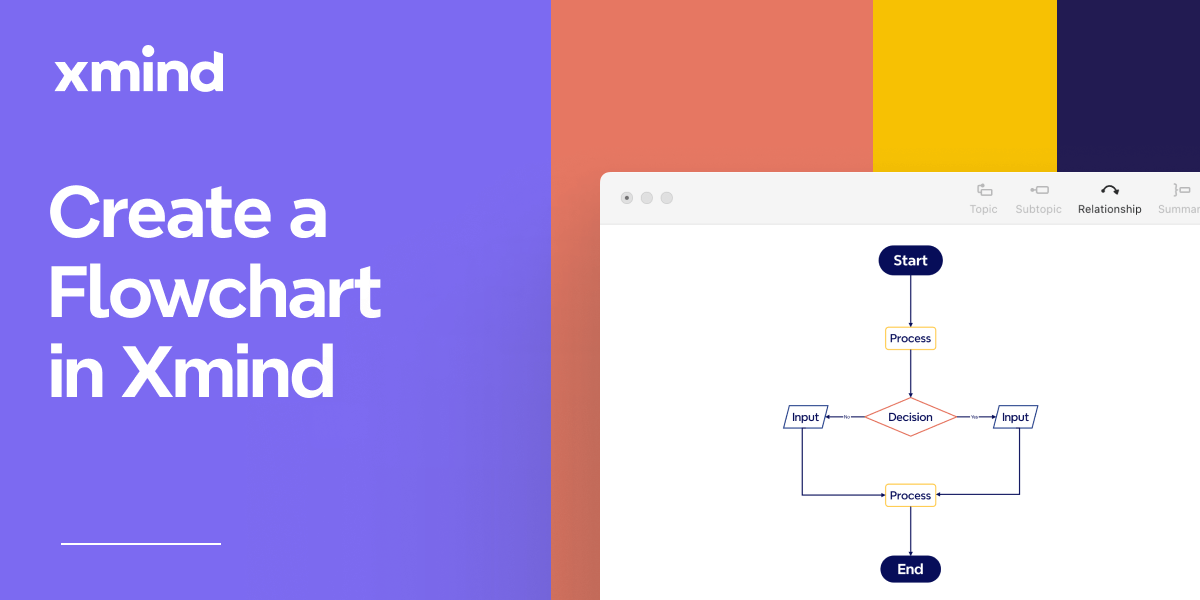
Flowchart Essentials: Definition, Templates, and Free Softwares
Discover the power of flowcharts with our detailed guide. Learn what a flowchart is, explore practical use cases, and discover how to create and optimize them using softwares like Xmind and Xmind AI for enhanced workflow efficiency.
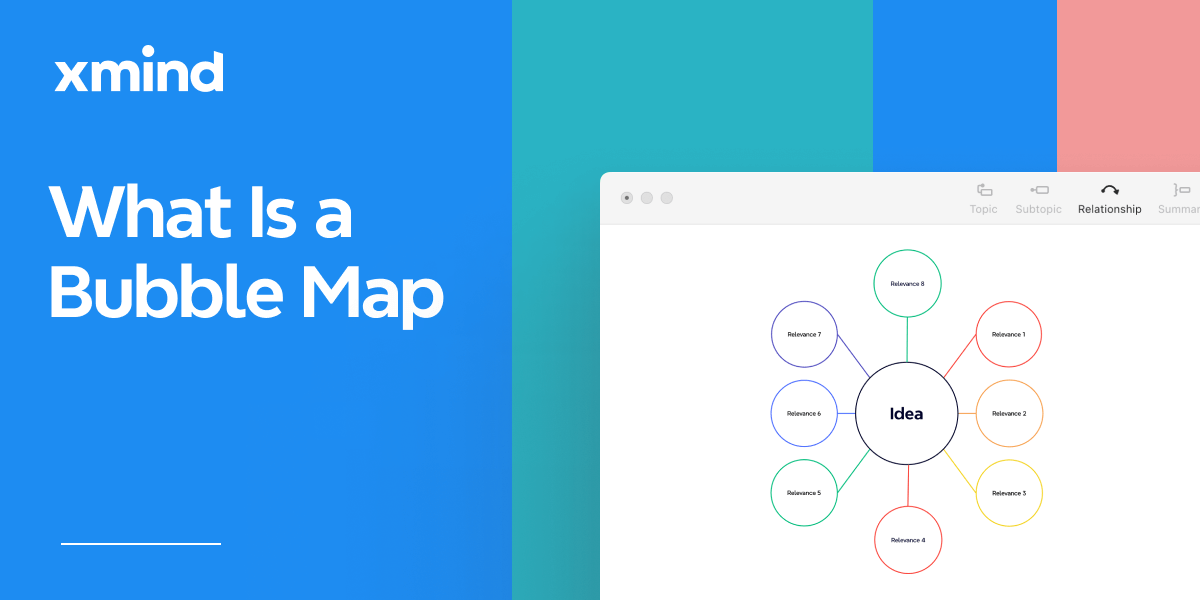
Bubble Maps: Definition, Examples, and How to Create in Xmind
Discover the power of bubble maps for data visualization with our comprehensive guide. Learn about different types, practical applications, and best mind mapping tools like Xmind. Get step-by-step instructions and expert tips to create stunning bubble maps for brainstorming, project management, and report writing.
The Complete Guide to Organizational Chart [2024]
Discover the simple steps to build dynamic organizational charts with Xmind.


One space for all your ideas
Organize thoughts, visualize structures, connect ideas, and unlock insights.
Get Started for Free